Pumpkin Outline: A Guide to Creating the Perfect Pumpkin Design
Pumpkin Outline: A Guide to Creating the Perfect Pumpkin Design
Introduction
When it comes to Halloween decorations, carving pumpkins is a longstanding tradition. A well-carved pumpkin can become the centerpiece of your Halloween display, adding a touch of creativity and spookiness. But before you start carving away, it’s essential to have a pumpkin outline to guide your design. In this article, we’ll explore the importance of a pumpkin outline and provide you with some tips on creating the perfect design.
Why is a Pumpkin Outline Important?

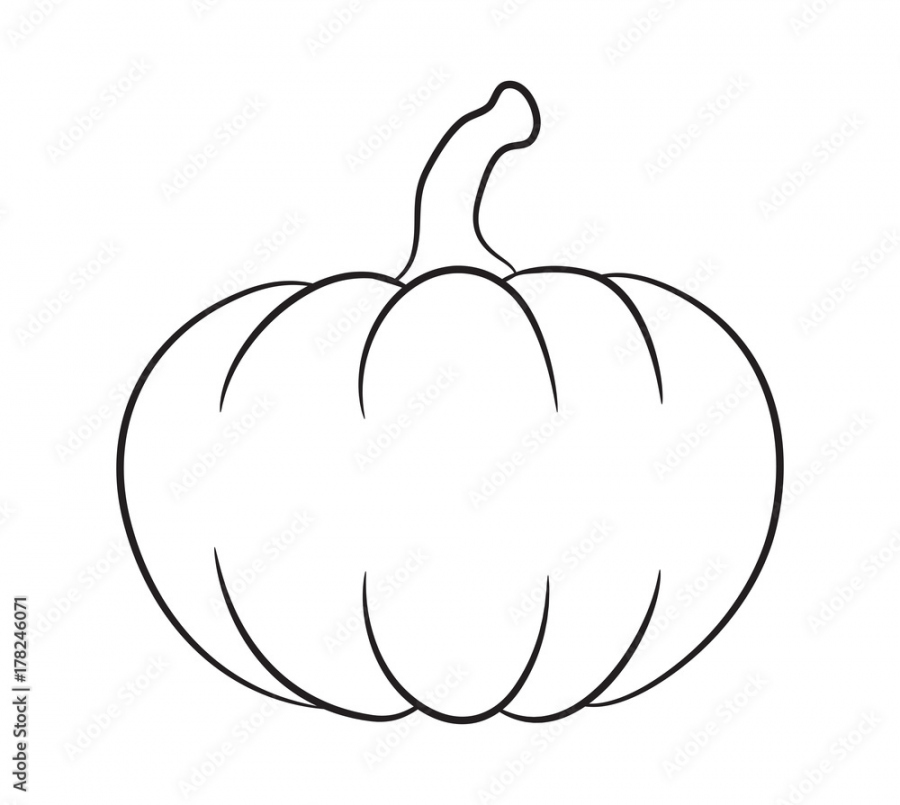
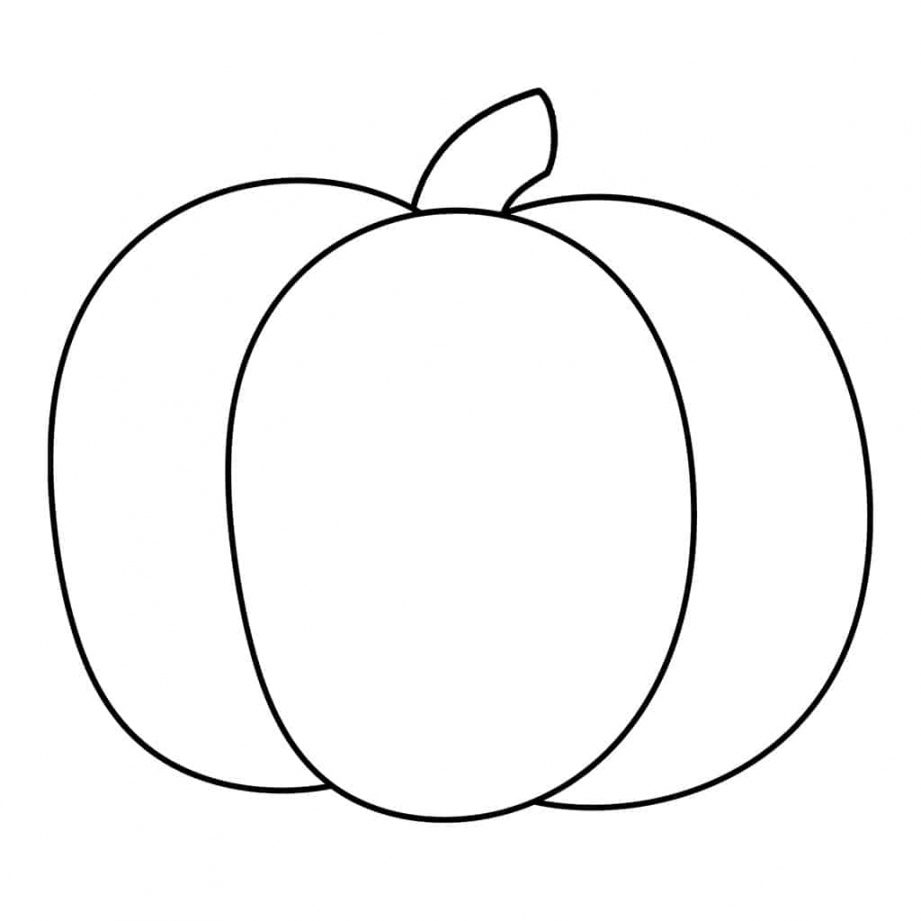
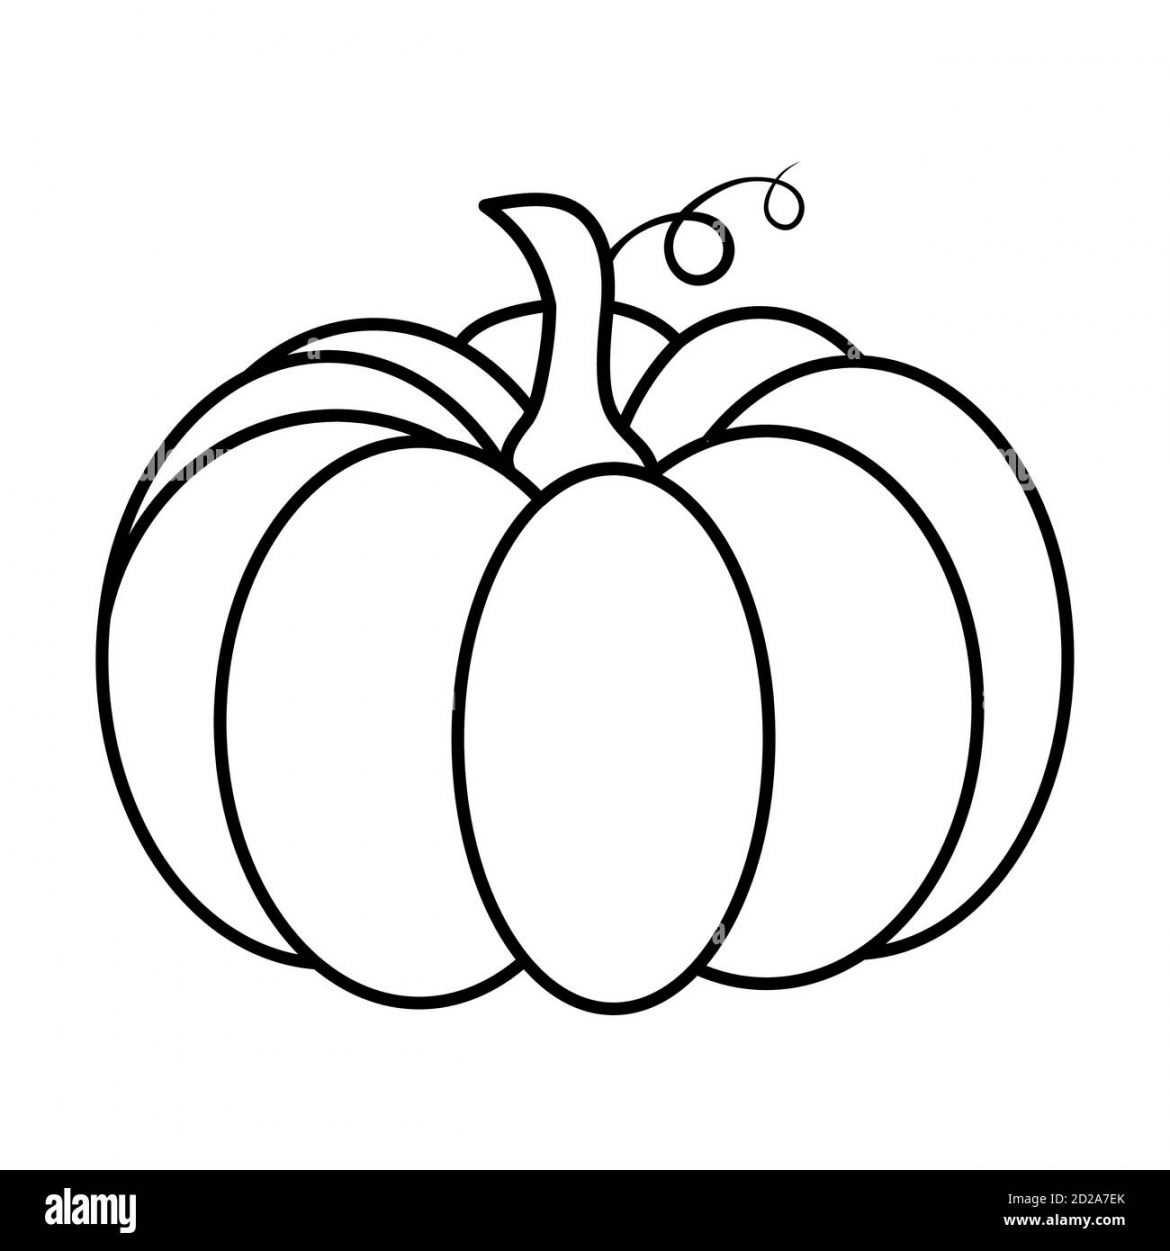
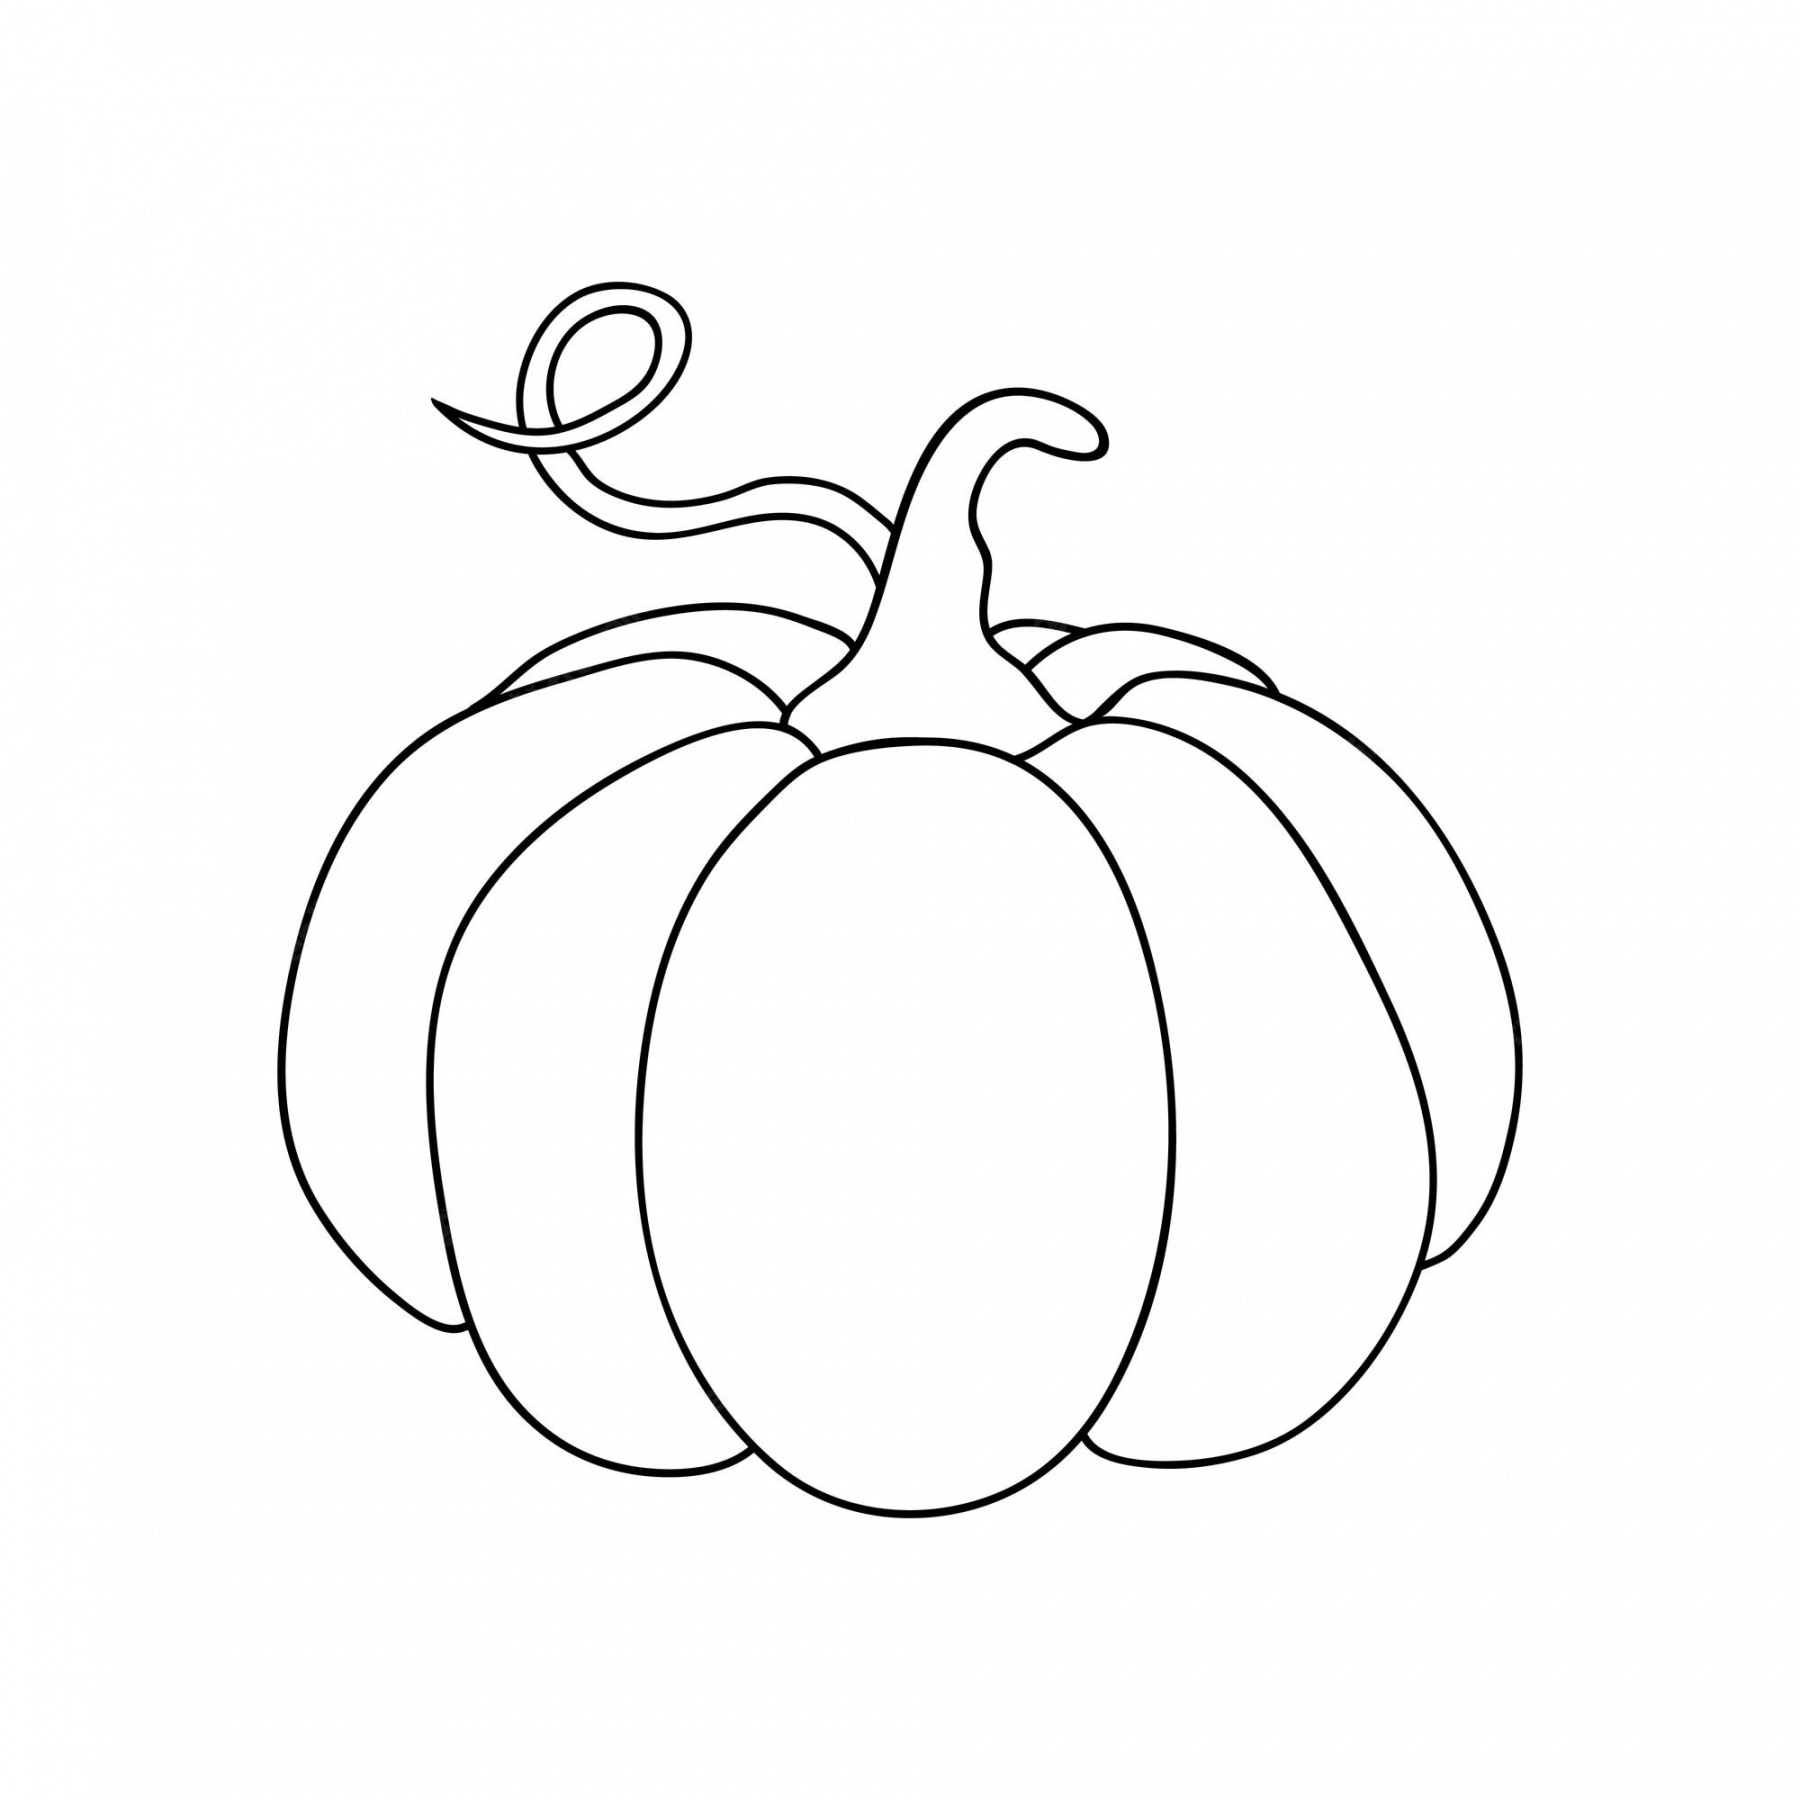
Using a pumpkin outline is crucial because it serves as a roadmap for your design. It helps you plan and visualize how your pumpkin will look once carved. Without a clear outline, your design may end up looking messy and uneven. The outline ensures that your design will be symmetrical and well-proportioned, resulting in a professional-looking pumpkin.
Choosing the Right Pumpkin
Before you can create a pumpkin outline, you need to select the perfect pumpkin. Look for a pumpkin that is symmetrical and has a smooth surface. Avoid any pumpkins with blemishes or soft spots, as they can make carving more challenging. It’s also crucial to choose a size that suits your design. A larger pumpkin allows for more intricate designs, while a smaller one is easier to handle for beginners.
Creating the Pumpkin Outline

Now that you have your pumpkin, it’s time to create the outline. Here’s a step-by-step guide to help you along the way:
Gather Your Tools
Before you start carving, make sure you have all the necessary tools. A serrated knife is perfect for cutting through the tough skin of the pumpkin, while a smaller knife or pumpkin saw will help with detailed carving. Don’t forget a spoon or scoop for removing the pumpkin guts!
Prepare Your Workspace

Find a clean, well-lit workspace to set up your pumpkin carving station. Lay down some newspaper or a plastic tablecloth to catch any mess. Make sure you have easy access to electrical outlets for any additional lighting you may need.
Draw Your Design
Using a marker or a pen, lightly draw your design on the pumpkin. Start with simple shapes and gradually add more intricate details. Don’t worry if you make a mistake; you can always wipe away the marker with a damp cloth and start again. Remember to include a top lid for easy access to the pumpkin’s interior.
Transfer Your Design

Once you’re satisfied with your drawing, it’s time to transfer it onto the pumpkin. You can use a pumpkin transfer kit or create your own transfer by poking small holes along the outline of your design. This will serve as a guide when you start carving.
Carve with Care
Now comes the exciting part: carving your pumpkin! Take your time and work slowly, following the outline you created. Start with the larger sections and gradually move to the smaller details. Remember to keep your fingers and hands away from the knife blade to avoid any accidents. If you’re a beginner, consider starting with simple designs and gradually challenge yourself with more complex designs as you gain confidence.
Conclusion
A pumpkin outline is an essential tool for creating a stunning pumpkin design. It helps you plan your design and ensures that your carved pumpkin turns out beautifully. So, next time you’re ready to carve a pumpkin for Halloween, don’t forget to start with a clear and precise pumpkin outline. Happy carving!
Never Stop Exploring with More Free Printables…
Copyright Notice:
Our website uses images found on the internet, the copyrights of which are retained by their respective owners. If you wish to have an image removed, kindly contact us.